

How to arrange items in a Tier Organizer?
Oct 27, 2025
Leave a message
Arranging items in a tier organizer can significantly enhance the functionality and aesthetics of your space. As a tier organizer supplier, I've witnessed firsthand the transformative power of a well - organized tier system. In this blog, I'll share some practical tips on how to arrange items in a tier organizer effectively.
Understanding Your Tier Organizer
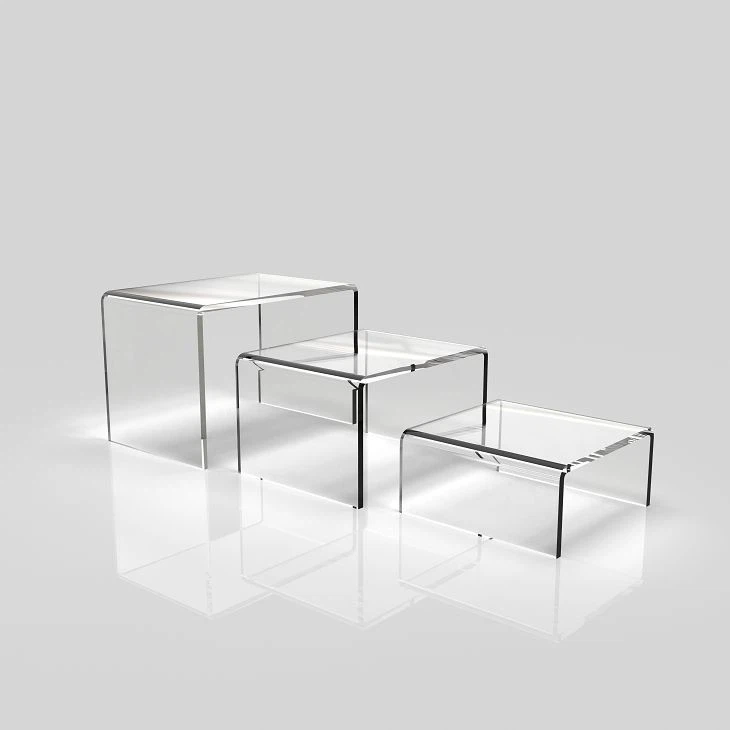
Before you start arranging items, it's crucial to understand the structure and capabilities of your tier organizer. Tier organizers come in various shapes, sizes, and materials. For instance, our Tier Organizer is made of high - quality acrylic, which is not only durable but also provides a modern and sleek look.
The number of tiers, the depth of each shelf, and the overall dimensions of the organizer will influence what you can store and how you arrange it. A taller tier organizer with multiple levels is ideal for storing a large number of small items, while a shorter, wider one might be better for larger, bulkier objects.
Categorize Your Items
The first step in arranging items in a tier organizer is to categorize them. This makes it easier to find what you need and keeps your organizer looking neat. You can categorize items based on their type, frequency of use, or any other logical system that works for you.
For example, if you're using the tier organizer in a kitchen, you might categorize items into cooking utensils, spices, and small appliances. In a bathroom, categories could include skincare products, makeup, and hair accessories. By grouping similar items together, you create a more organized and efficient storage solution.

Consider Accessibility
When arranging items in your tier organizer, accessibility should be a top priority. Place the items you use most frequently on the top or middle tiers, where they are easy to reach. For instance, if you're using the organizer for office supplies, keep your pens, sticky notes, and scissors within easy reach.
Items that you use less often can be stored on the lower tiers. This could include seasonal items, backup supplies, or items that you only need occasionally. By considering accessibility, you can save time and effort when searching for the items you need.
Use Vertical Space Wisely
One of the main advantages of a tier organizer is its ability to utilize vertical space. Don't just stack items flat on each tier; instead, try to stack them vertically or use dividers to create compartments. This allows you to store more items in a smaller space.
For example, you can use acrylic risers like our Acrylic Riser Stand to elevate smaller items and create more space on the lower levels. You can also use acrylic wall shelves like our Acrylic Wall Shelf to add additional storage space to the sides of your tier organizer.
Arrange by Size and Shape
Another effective way to arrange items in a tier organizer is by size and shape. Place larger items on the bottom tiers and smaller items on the top. This not only makes the organizer more stable but also creates a visually appealing arrangement.
For irregularly shaped items, try to find a way to group them together or use containers to keep them organized. For example, if you have odd - shaped makeup brushes, you can store them in a small acrylic container on one of the tiers.
Create a Visual Flow
A well - arranged tier organizer should have a visual flow that makes it easy to navigate. You can create a visual flow by arranging items in a logical order, such as from largest to smallest or by color.
For example, if you're organizing a collection of books on a tier organizer, you can arrange them by size or genre. This makes it easier to find a specific book and gives the organizer a more cohesive look.
Maintain Your Arrangement
Once you've arranged your items in the tier organizer, it's important to maintain the arrangement. Regularly declutter and reorganize the items to ensure that everything stays in its place. This will help you get the most out of your tier organizer and keep your space looking organized.
Tips for Different Settings
Kitchen
In a kitchen, use the top tiers for everyday items like coffee mugs, tea bags, and spoons. The middle tiers can be used for spices, cooking oils, and small baking tools. The bottom tiers are ideal for larger items like pots, pans, and mixing bowls. You can also use dividers to separate different types of utensils and keep them organized.
Bathroom
In a bathroom, place frequently used skincare products and makeup on the top tiers. The middle tiers can be used for hair products and toothbrushes. The bottom tiers are suitable for storing towels, toilet paper, and other bulk items. Use small acrylic containers to keep jewelry, hairpins, and other small items organized.
Office
In an office, the top tiers can hold items like pens, pencils, and sticky notes. The middle tiers are great for storing files, notebooks, and small office equipment. The bottom tiers can be used for larger items like printer paper, binders, and backup supplies. You can also use cable organizers to keep cords and wires tidy.
Conclusion
Arranging items in a tier organizer is a skill that can be learned and perfected over time. By understanding your tier organizer, categorizing your items, considering accessibility, using vertical space wisely, arranging by size and shape, creating a visual flow, and maintaining your arrangement, you can create a functional and beautiful storage solution.
If you're interested in purchasing a tier organizer or any of our other acrylic storage products, I encourage you to reach out to us for a detailed discussion. We can help you find the perfect tier organizer for your needs and provide you with more tips on how to arrange your items effectively.
References
- Organization experts' blogs and articles on storage solutions.
- Interior design magazines and websites for inspiration on arranging items.
- Customer feedback and case studies on the use of tier organizers.