

How to adjust the hanging angle of an acrylic frame?
May 26, 2025
Leave a message
Hey there! As a supplier of Acrylic Frames, I often get asked about how to adjust the hanging angle of an acrylic frame. It might seem like a tricky task, but with a few simple steps, you can get it just right.
First off, let's talk about why adjusting the hanging angle matters. A well - angled acrylic frame can enhance the overall look of your display. Whether you're hanging a beautiful family photo in your living room or showcasing an important art piece in a gallery, the right angle can make all the difference. It can draw the viewer's attention and create a more aesthetically pleasing experience.
Now, before we start adjusting, you need to gather a few tools. You'll need a level, which is super important to ensure your frame is straight. You can pick up a basic level at any hardware store. Also, having a small hammer and some nails or picture - hanging hooks will come in handy.
Let's assume you've already chosen the perfect spot on the wall to hang your Acrylic Photo Frames. The first step is to mark the wall where you want the top of the frame to be. Use a pencil to make a small, light mark. Make sure this mark is at the right height for your display. If it's a frame for a child's room, you might want it lower; for a large - scale art piece in a hallway, it could be higher.
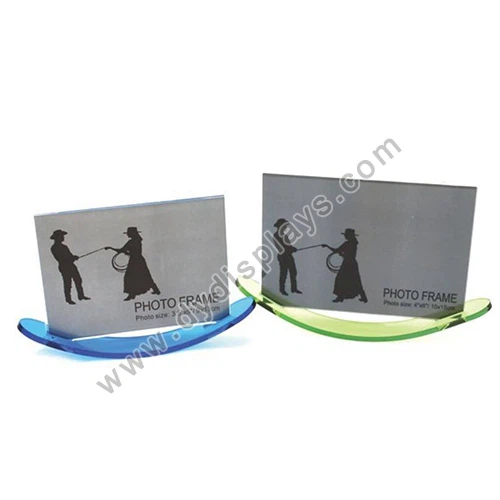

Once you've marked the height, it's time to think about the angle. Most of the time, we want the frame to be perfectly horizontal, but there are cases where you might want a slight tilt. For example, if the frame is above a couch and you're sitting down most of the time, a slight downward tilt can make it easier to view.
To get the right angle, hold the frame up against the wall at the marked height. Place the level on top of the frame. If the bubble in the level is centered between the two lines, then your frame is perfectly horizontal. If not, you'll need to adjust the position of the frame until the bubble is centered.
Now, if you're using nails, take your hammer and gently tap a nail into the wall at the marked spot. Make sure the nail is straight and secure. If you're using picture - hanging hooks, follow the instructions on the package to install them properly.
After you've got your hanging hardware in place, carefully hang the frame on it. Check the level again to make sure the angle is still correct. Sometimes, the weight of the frame can cause it to shift a bit when you hang it. If it's off - center, gently lift the frame and make the necessary adjustments.
If you have a Magnetic Acrylic Frames, the process is a bit different. These frames usually come with a magnetic backing that attaches to a metal plate on the wall. First, you need to attach the metal plate to the wall at the desired height and angle. Use the level to ensure it's straight. Then, simply place the frame on the metal plate, and the magnets will hold it in place. You can easily adjust the angle by sliding the frame around on the metal plate until it looks right.
Another thing to keep in mind is the type of wall you're hanging the frame on. If it's a drywall, you might need to use wall anchors to ensure the frame stays securely in place. Wall anchors are small devices that you insert into the wall before putting in the nail or hook. They provide extra support, especially for heavier frames.
If you're hanging multiple frames in a group, the angle adjustment becomes even more crucial. You want all the frames to be at the same angle and level to create a cohesive look. Start by laying out the frames on the floor to plan their arrangement. Then, mark the wall for each frame, using the level to ensure consistent angles. Hang one frame at a time, double - checking the level after each one.
Sometimes, you might find that the frame doesn't hang straight even after following all these steps. This could be due to an uneven wall surface. In such cases, you can use shims. Shims are small, thin pieces of wood or plastic that you can place behind the frame to level it out. Just insert the shim at the appropriate spot until the frame is straight.
As a supplier of Acrylic Photo Frames, I know that getting the hanging angle right is essential for our customers. A well - hung frame not only looks great but also protects the item inside. Acrylic frames are known for their durability and clarity, but if they're not hung properly, they might not last as long or look as good.
If you're still having trouble adjusting the hanging angle of your acrylic frame, don't hesitate to reach out. We're here to help you make the most of your acrylic frames. Whether you're a homeowner looking to spruce up your living space or a business owner in need of professional - looking displays, we've got the products and the knowledge to assist you.
We offer a wide range of acrylic frames in different sizes, styles, and colors. Our frames are made from high - quality acrylic material that is scratch - resistant and lightweight. They're perfect for displaying photos, art, certificates, and more.
If you're interested in purchasing our acrylic frames or have any questions about hanging them, we'd love to hear from you. Just get in touch, and we can start a conversation about your specific needs. Whether you need a single frame or a large order for a commercial project, we're ready to work with you.
In conclusion, adjusting the hanging angle of an acrylic frame is a simple process that just requires a bit of patience and the right tools. By following these steps, you can ensure that your frame looks great and is securely hung on the wall. So, go ahead and give it a try, and if you run into any issues, remember, we're here to support you.
References
- General knowledge from years of experience in the acrylic frame industry.
- Tips and tricks learned from professional framers and installers.